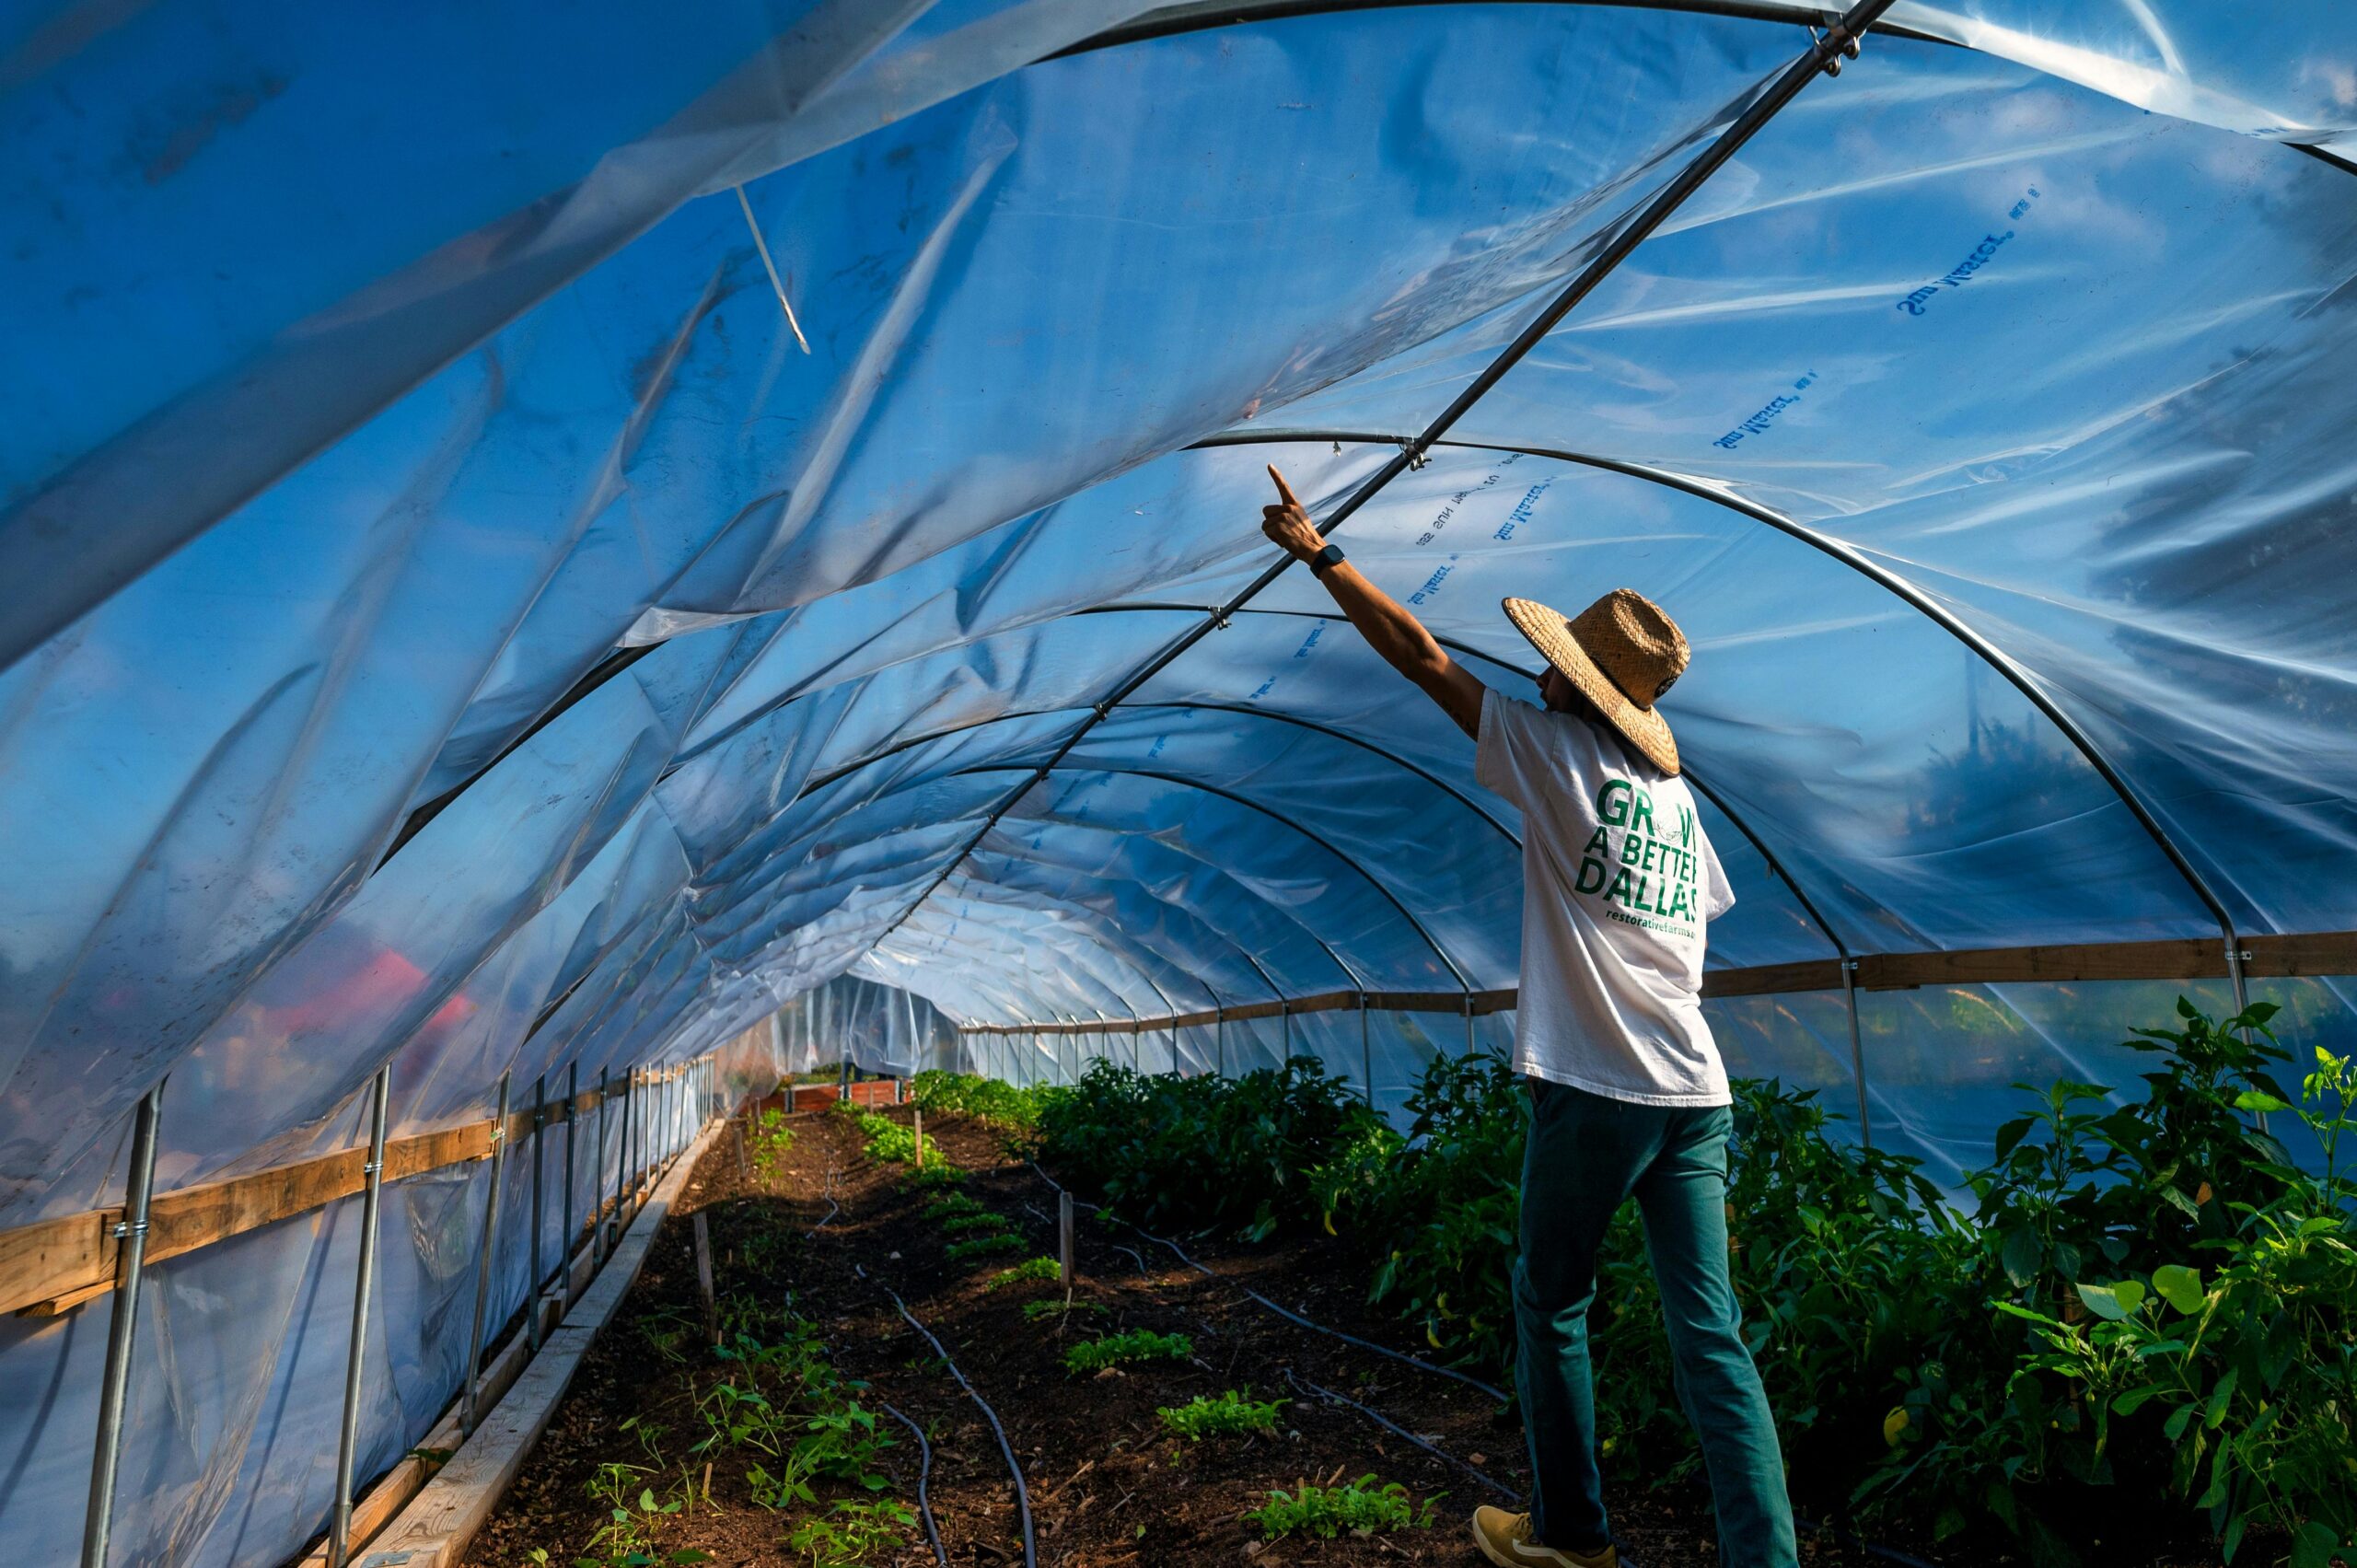
Winter gardening doesn’t have to mean braving the elements or watching your garden fade with the colder months. With DIY hoop houses, you can extend your growing season, protect crops from frost, and enjoy fresh vegetables even in winter. These simple, cost-effective structures provide insulation and regulate temperatures, making them an essential tool for sustainable, year-round gardening. Here’s everything you need to know about building and using hoop houses to ensure winter gardening success.
1. What Is a Hoop House?
A hoop house is a simple greenhouse-like structure made from bent hoops (PVC, metal, or wood) covered with plastic sheeting to trap heat and create a microclimate. It provides protection from frost, wind, and snow while allowing plants to thrive in cold conditions.
Why Use a Hoop House?
✅ Extends the growing season – Grow crops well into winter and start planting earlier in spring.
✅ Protects plants from frost and wind – Shields delicate plants from extreme weather.
✅ Increases yield – More consistent temperatures promote better growth.
✅ Cost-effective alternative to a greenhouse – Simple materials make it budget-friendly.
2. Choosing the Right Materials for a DIY Hoop House
Frame Options
🛠 PVC Pipes – Affordable and flexible, great for small-scale hoop houses.
🛠 Metal Conduit – More durable, withstands heavy snow and strong winds.
🛠 Wooden Hoops – A rustic, sturdy option for raised beds or permanent installations.
Covering Materials
🌿 Greenhouse Plastic (6 mil or thicker) – Best for heat retention and longevity.
🌿 Row Cover Fabric – Breathable but offers less protection than plastic.
🌿 Recycled Windows or Plastic Sheets – Upcycling materials can make hoop houses even more sustainable.
Structural Support
🔩 Rebar or Wooden Stakes – Anchors the frame securely in the ground.
🔩 Clamps or Clips – Helps secure the plastic sheeting in place.
🔩 Hinges or Roll-Up Sides – Optional for easy ventilation and access.
3. How to Build a DIY Hoop House
Step 1: Choose Your Location
Pick a sunny, well-drained area where your hoop house will get maximum sunlight during winter.
Step 2: Measure and Mark Your Area
Decide on the dimensions of your hoop house based on your garden size and space availability.
Step 3: Install the Frame
1️⃣ Drive rebar or wooden stakes into the ground at even intervals along the length of your garden bed.
2️⃣ Bend PVC pipes or metal conduit over the bed and secure them onto the stakes to form a hoop shape.
3️⃣ Attach horizontal support beams across the structure for stability.
Step 4: Cover with Plastic or Fabric
1️⃣ Stretch greenhouse plastic or row cover fabric over the hoops.
2️⃣ Secure with clips, clamps, or weighted edges to hold it in place.
3️⃣ Leave ends open or install hinged doors or roll-up sides for easy access and ventilation.
Step 5: Secure Against Wind and Snow
- Bury the edges of the plastic with soil or heavy rocks to keep the hoop house anchored.
- If heavy snow is expected, reinforce the structure with cross braces or additional supports.
4. Best Crops for a Winter Hoop House
Certain crops thrive in the cool, controlled environment of a hoop house, providing fresh produce all winter long.
Cold-Hardy Vegetables
🥬 Leafy Greens – Spinach, kale, Swiss chard, and lettuce.
🥕 Root Vegetables – Carrots, beets, radishes, and turnips.
🥦 Brassicas – Broccoli, cauliflower, and cabbage.
🧄 Alliums – Garlic, onions, and leeks.
Herbs That Thrive in Winter
🌿 Parsley – Hardy and packed with flavor.
🌿 Thyme – Grows well in cooler temperatures.
🌿 Chives – Perfect for indoor or hoop house growing.
5. Maintaining a Hoop House in Winter
Ventilation is Key
- On warm winter days, open the hoop house slightly to prevent overheating and condensation buildup.
- Use temperature monitors to maintain an optimal growing environment.
Watering Needs
- Water in the morning to allow excess moisture to evaporate during the day.
- Use mulch around plants to retain soil moisture and protect roots from extreme cold.
Prevent Snow Load Damage
- Regularly knock off excess snow from the plastic covering.
- Reinforce with additional support beams if heavy snowfall is common in your area.
6. Expanding the Benefits of Your Hoop House
💡 Use in Spring & Summer – Extend the growing season for warm-weather crops like tomatoes and peppers.
💡 Create a Low-Cost Greenhouse Alternative – Grow delicate plants like citrus trees in colder climates.
💡 Experiment with Layering – Use floating row covers inside the hoop house for added insulation.
7. Cost Breakdown: Budget-Friendly DIY Hoop House
A basic PVC hoop house for a raised bed can be built for under $50, while larger metal conduit structures may cost $150–$300, depending on materials.
| Item | Estimated Cost |
|---|---|
| PVC pipes | $10–$25 |
| Rebar stakes | $10–$20 |
| Greenhouse plastic | $20–$50 |
| Clamps & fasteners | $5–$15 |
| Wooden supports (optional) | $10–$30 |
💰 Savings Tip: Upcycle old materials like reclaimed windows, leftover plastic sheets, or wooden pallets to cut costs!
8. The Environmental & Health Benefits of a DIY Hoop House
🏡 Sustainability – Reduces dependence on store-bought produce, cutting down on plastic packaging.
🌱 Less Food Waste – Grow what you need and harvest as you go.
💚 Healthier Eating – Fresh, nutrient-rich vegetables available year-round.
Conclusion
Building a DIY hoop house is an affordable, effective way to extend your growing season and enjoy fresh produce in winter. Whether you’re looking to protect delicate crops, maximize your harvest, or create a year-round garden, a hoop house is a game-changer for sustainable gardening.
Call to Action
Have you built a hoop house before? Share your experience in the comments! If you’re inspired to start, subscribe for more gardening tips and zero-waste sustainability hacks.


Leave a Reply