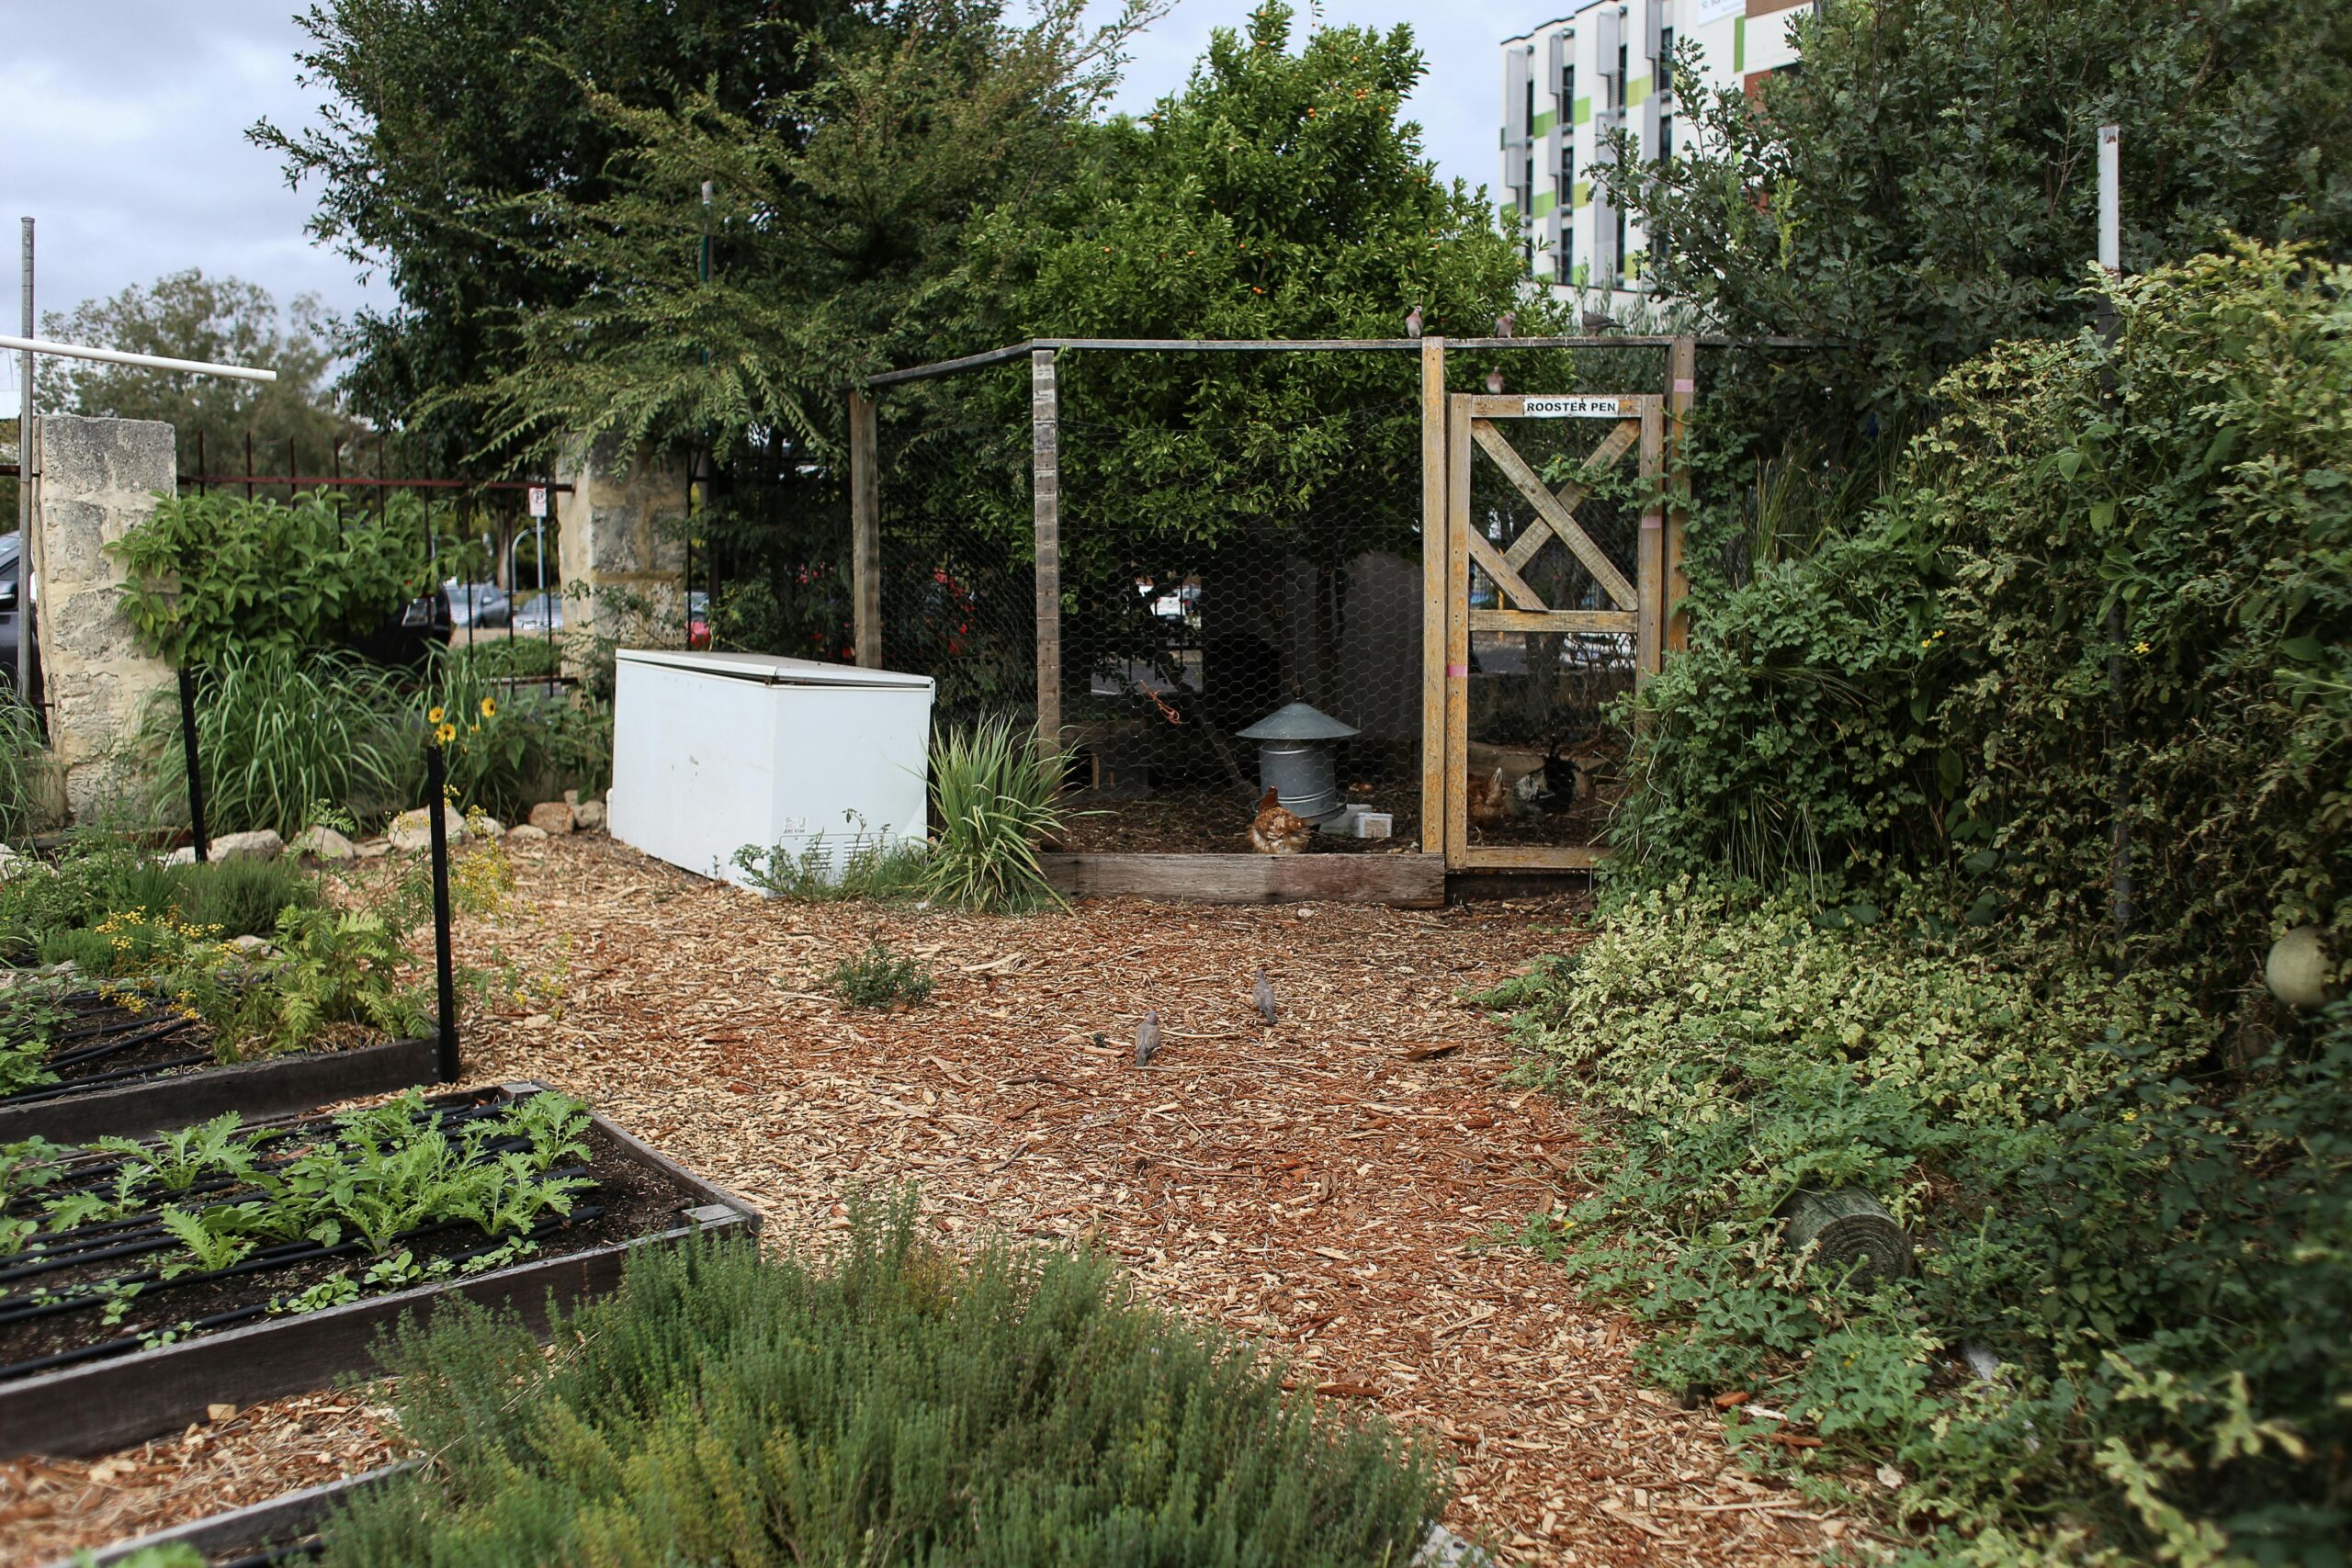
Raising backyard chickens is an exciting and rewarding venture, but before you bring home your flock, you’ll need to provide them with a safe, comfortable, and functional chicken coop. Whether you’re looking for a budget-friendly DIY project or a more elaborate design, this guide will walk you through everything you need to know to build a chicken coop for beginners.
1. Planning Your Chicken Coop
Before you start construction, consider the following key factors:
How Many Chickens Will You Have?
- Chickens need about 2–3 square feet of indoor space per bird and 8–10 square feet of outdoor run space.
- Overcrowding can lead to stress, aggression, and poor egg production.
Location Matters
- Place the coop in a well-drained area to prevent flooding.
- Choose a partially shaded spot to protect the flock from extreme heat.
- Ensure easy access to water and electricity if needed.
Design Considerations
- Predator Protection: Secure the coop with hardware cloth instead of chicken wire to keep out raccoons, foxes, and rodents.
- Ventilation: Good airflow prevents moisture buildup and reduces ammonia odors.
- Easy Cleaning: Consider a removable tray or a door for easy access to bedding and droppings.
2. Materials and Tools You’ll Need
Basic Materials
🛠 Wood – Plywood or reclaimed lumber for walls and structure.
🛠 Chicken Wire or Hardware Cloth – To enclose the run and protect the flock.
🛠 Roofing Material – Corrugated metal or shingles to keep the coop dry.
🛠 Nesting Boxes – Wood or plastic containers for egg-laying.
🛠 Hinges and Latches – For doors and nesting box access.
Tools Required
🔩 Power Drill – For assembling the coop.
🔩 Saw – Circular saw or handsaw for cutting wood.
🔩 Measuring Tape – To ensure proper dimensions.
🔩 Staple Gun – For attaching mesh and securing insulation.
3. Step-by-Step Guide to Building a Chicken Coop
Step 1: Build the Base & Frame
- Construct a sturdy base using treated wood to elevate the coop off the ground. This protects against flooding and rodents.
- Assemble a rectangular or square frame, ensuring enough space for ventilation and access doors.
Step 2: Add Walls & Nesting Boxes
- Attach plywood or wooden planks to create secure walls.
- Include one nesting box per 3–4 hens, with a sloped roof to prevent perching.
Step 3: Install the Roof
- Secure waterproof roofing material (metal or shingles) to keep the interior dry.
- Ensure an overhang to shield the run area from rain.
Step 4: Create Doors & Access Points
- Install a hinged door for easy egg collection and coop cleaning.
- Add a small chicken-sized door with a ramp leading to the outdoor run.
Step 5: Build the Chicken Run
- Attach a fully enclosed outdoor area using hardware cloth or chicken wire.
- Bury fencing at least 12 inches underground to deter digging predators.
Step 6: Add Roosting Bars & Flooring
- Install 2-inch wide roosting bars at least 12 inches off the ground for the chickens to sleep on.
- Use removable trays or deep litter bedding (wood shavings, straw) for easy cleaning.
4. Essential Features for a Healthy Coop
🐓 Proper Ventilation – Install vents or mesh panels near the roof.
🐓 Secure Doors & Locks – Raccoon-proof latches are a must!
🐓 Easy Egg Collection Access – A drop-down hatch makes gathering eggs simple.
🐓 Weatherproofing – Insulation or wind barriers for cold climates.
5. Cost Breakdown: DIY vs. Pre-Made Coop
| Option | Estimated Cost |
|---|---|
| DIY Small Coop (3–5 chickens) | $100–$300 |
| DIY Large Coop (6+ chickens) | $300–$700 |
| Pre-Made Coop (Small) | $300–$600 |
| Pre-Made Coop (Large) | $600–$1,500 |
💰 Savings Tip: Use recycled materials like old pallets or repurposed wood to lower costs!
6. Common Mistakes to Avoid
❌ Using Chicken Wire Instead of Hardware Cloth – Chicken wire keeps chickens in but doesn’t keep predators out.
❌ Skipping Ventilation – Poor airflow leads to moisture buildup and respiratory issues.
❌ Forgetting Predator-Proofing – Secure all entry points to keep out raccoons, foxes, and hawks.
❌ Not Planning for Growth – It’s easier to build a slightly bigger coop than to expand later.
7. Maintaining Your Chicken Coop
✅ Daily Tasks
- Check food and water supplies.
- Look for signs of predators or damage.
✅ Weekly Tasks
- Remove soiled bedding.
- Inspect the coop structure for any repairs.
✅ Monthly Tasks
- Deep clean the coop with vinegar and water (avoid chemicals).
- Refresh nesting box bedding.
8. Benefits of Raising Backyard Chickens
✔ Fresh Organic Eggs – Healthier, tastier eggs straight from your backyard.
✔ Sustainability – Chickens eat kitchen scraps and help reduce waste.
✔ Natural Pest Control – Chickens eat bugs, reducing pests in your garden.
✔ Great for Kids & Families – A fun way to teach responsibility and self-sufficiency.
Conclusion
Building a DIY chicken coop is a fun and rewarding project that gives your flock a safe and comfortable home. Whether you’re a homesteading beginner or an experienced backyard farmer, a well-designed coop ensures happy, healthy chickens and fresh eggs year-round.
Call to Action
Are you planning to build your own chicken coop? Share your ideas or ask questions in the comments below! Subscribe for more homesteading and self-sufficiency tips.


Leave a Reply